Membership Directory
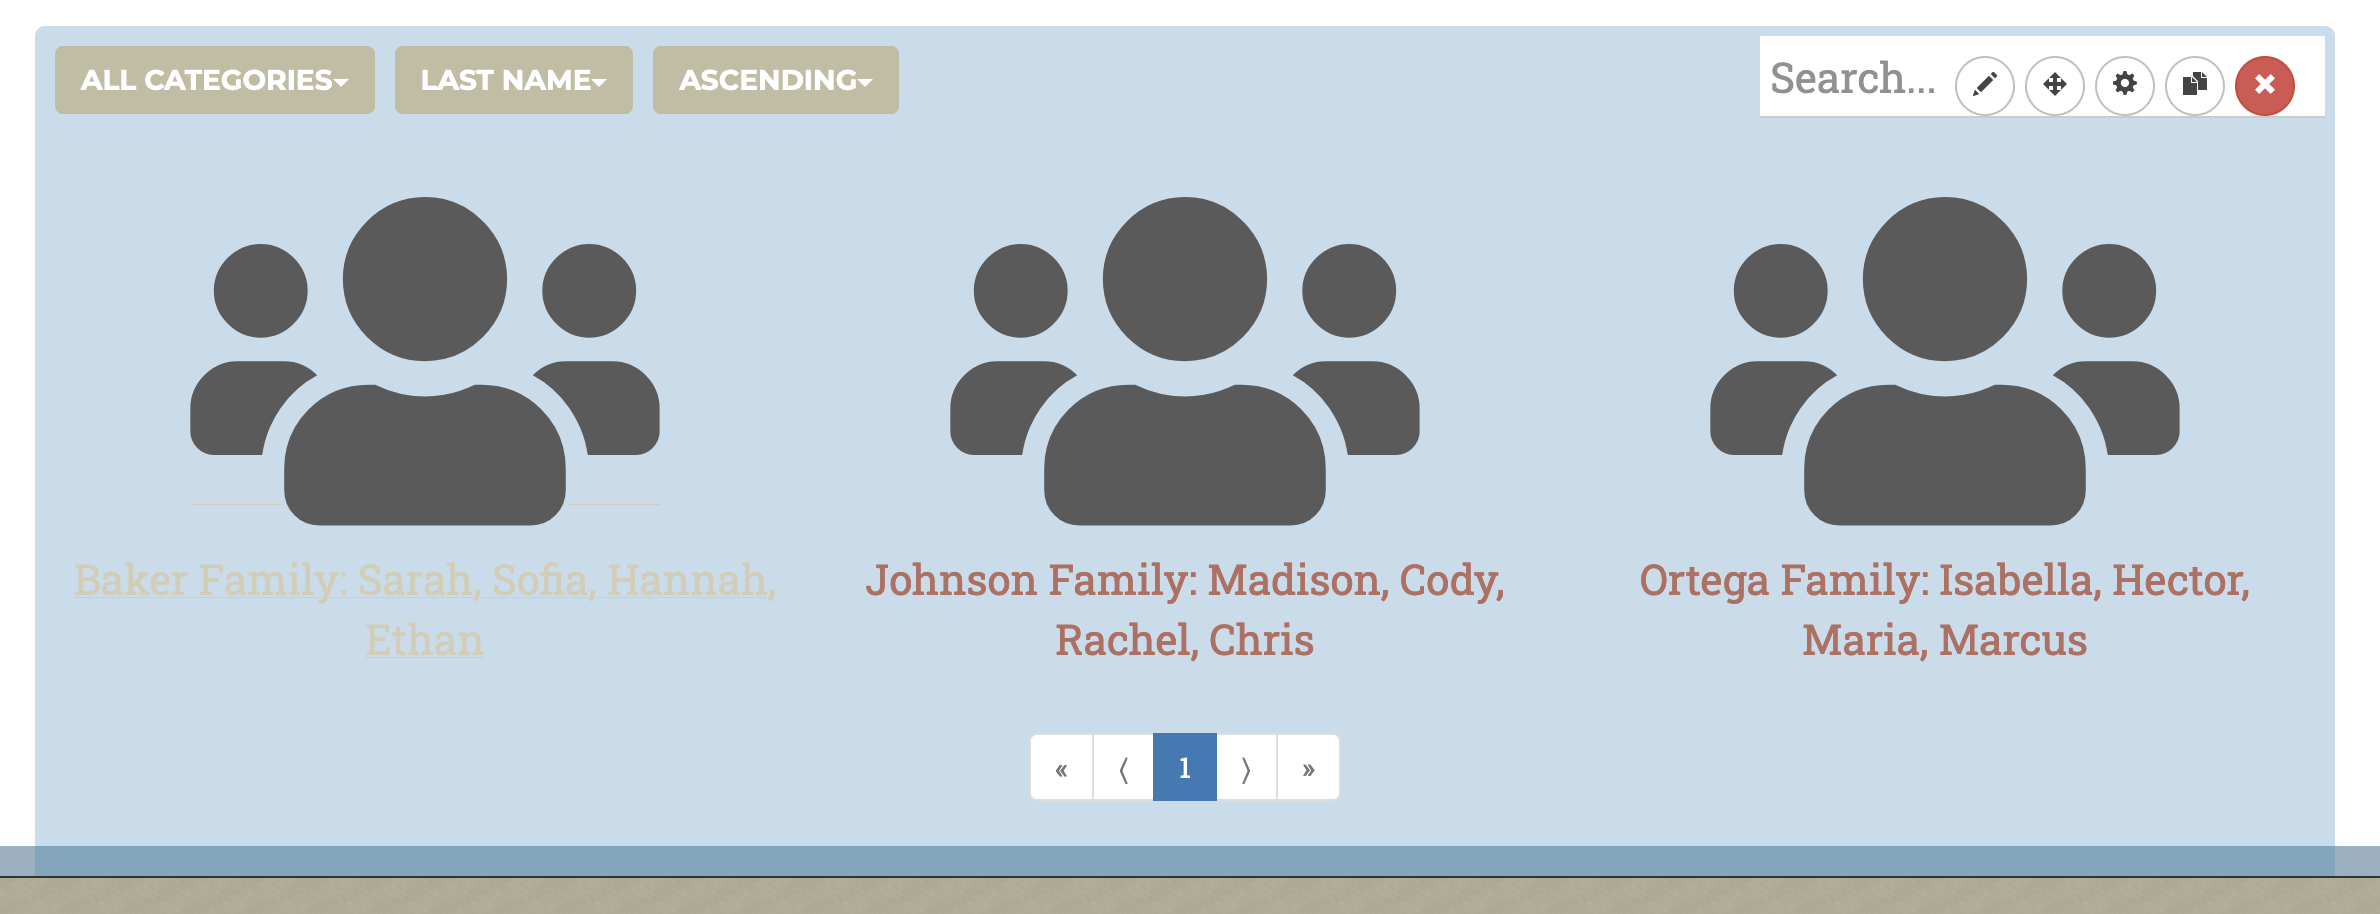
This section displays a membership directory on a page, which you can view information about families or individual members.

Creating a Membership Directory
- Go to Administration and find the Membership Directories tab
- Create a new directory by clicking the Plus button.
- Give a name and brief description for your directory.
Directory Admin Panel
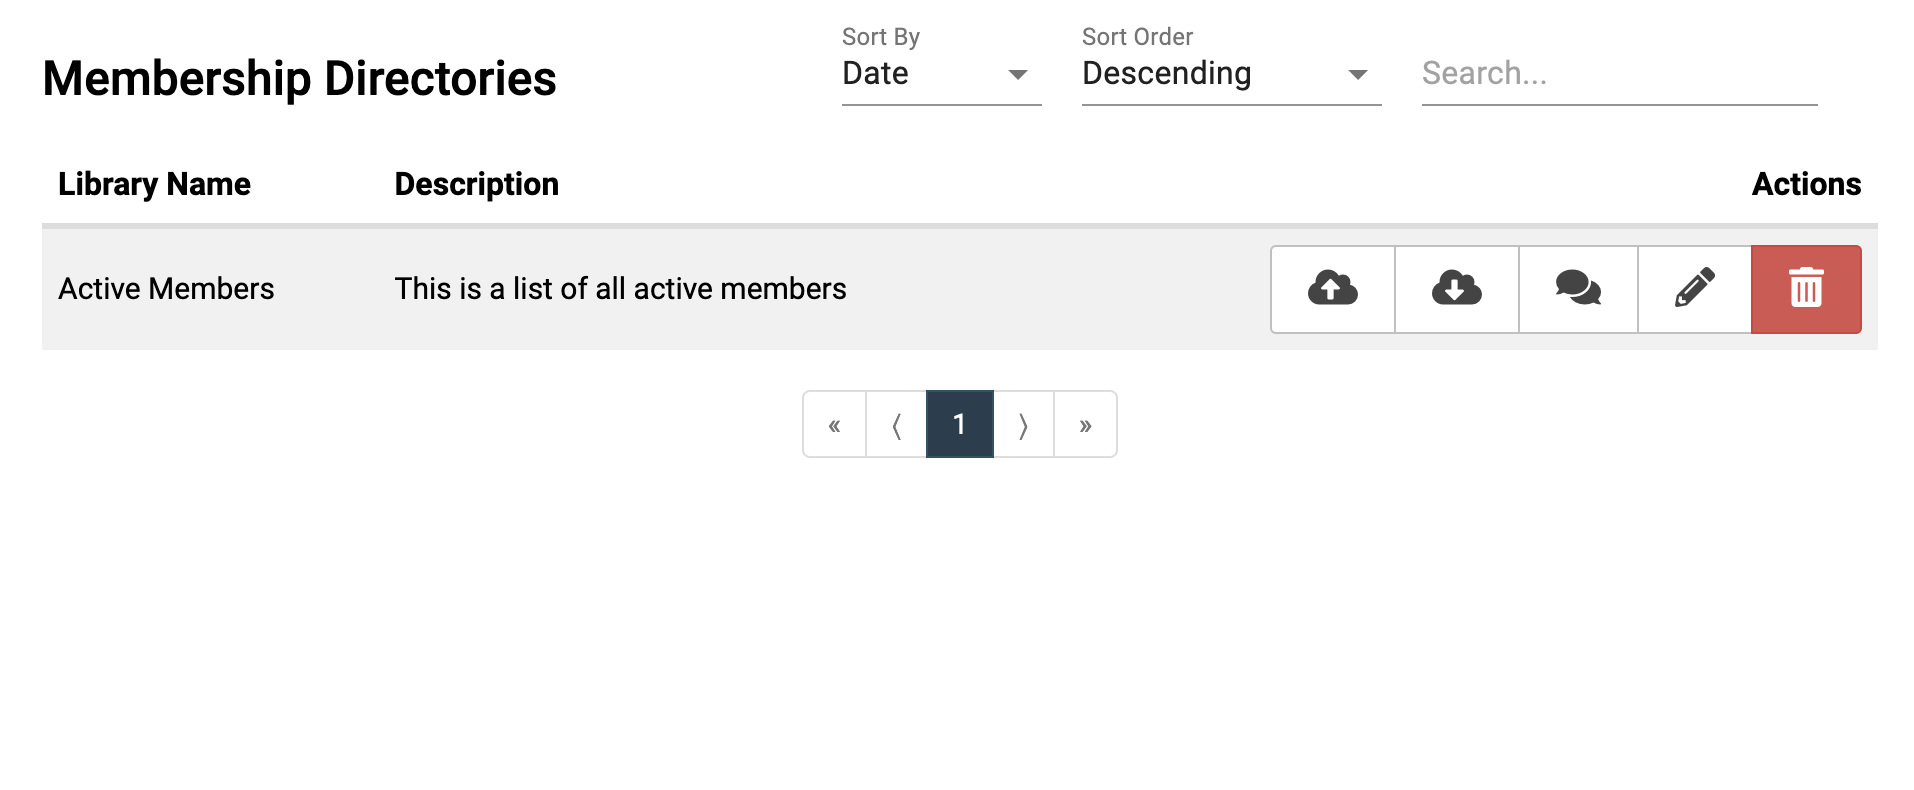
There are four icons in the Membership Directory Menu
- ‘Cloud + Up arrow’ = uploading members through an existing .csv file.
- ‘Cloud + Down arrow’ = downloading members from the website
- Two quote bubbles = Send out a mass text or email to members of directory.
- Pencil = Adding, editing, and deleting members.
Adding & Modifying Members
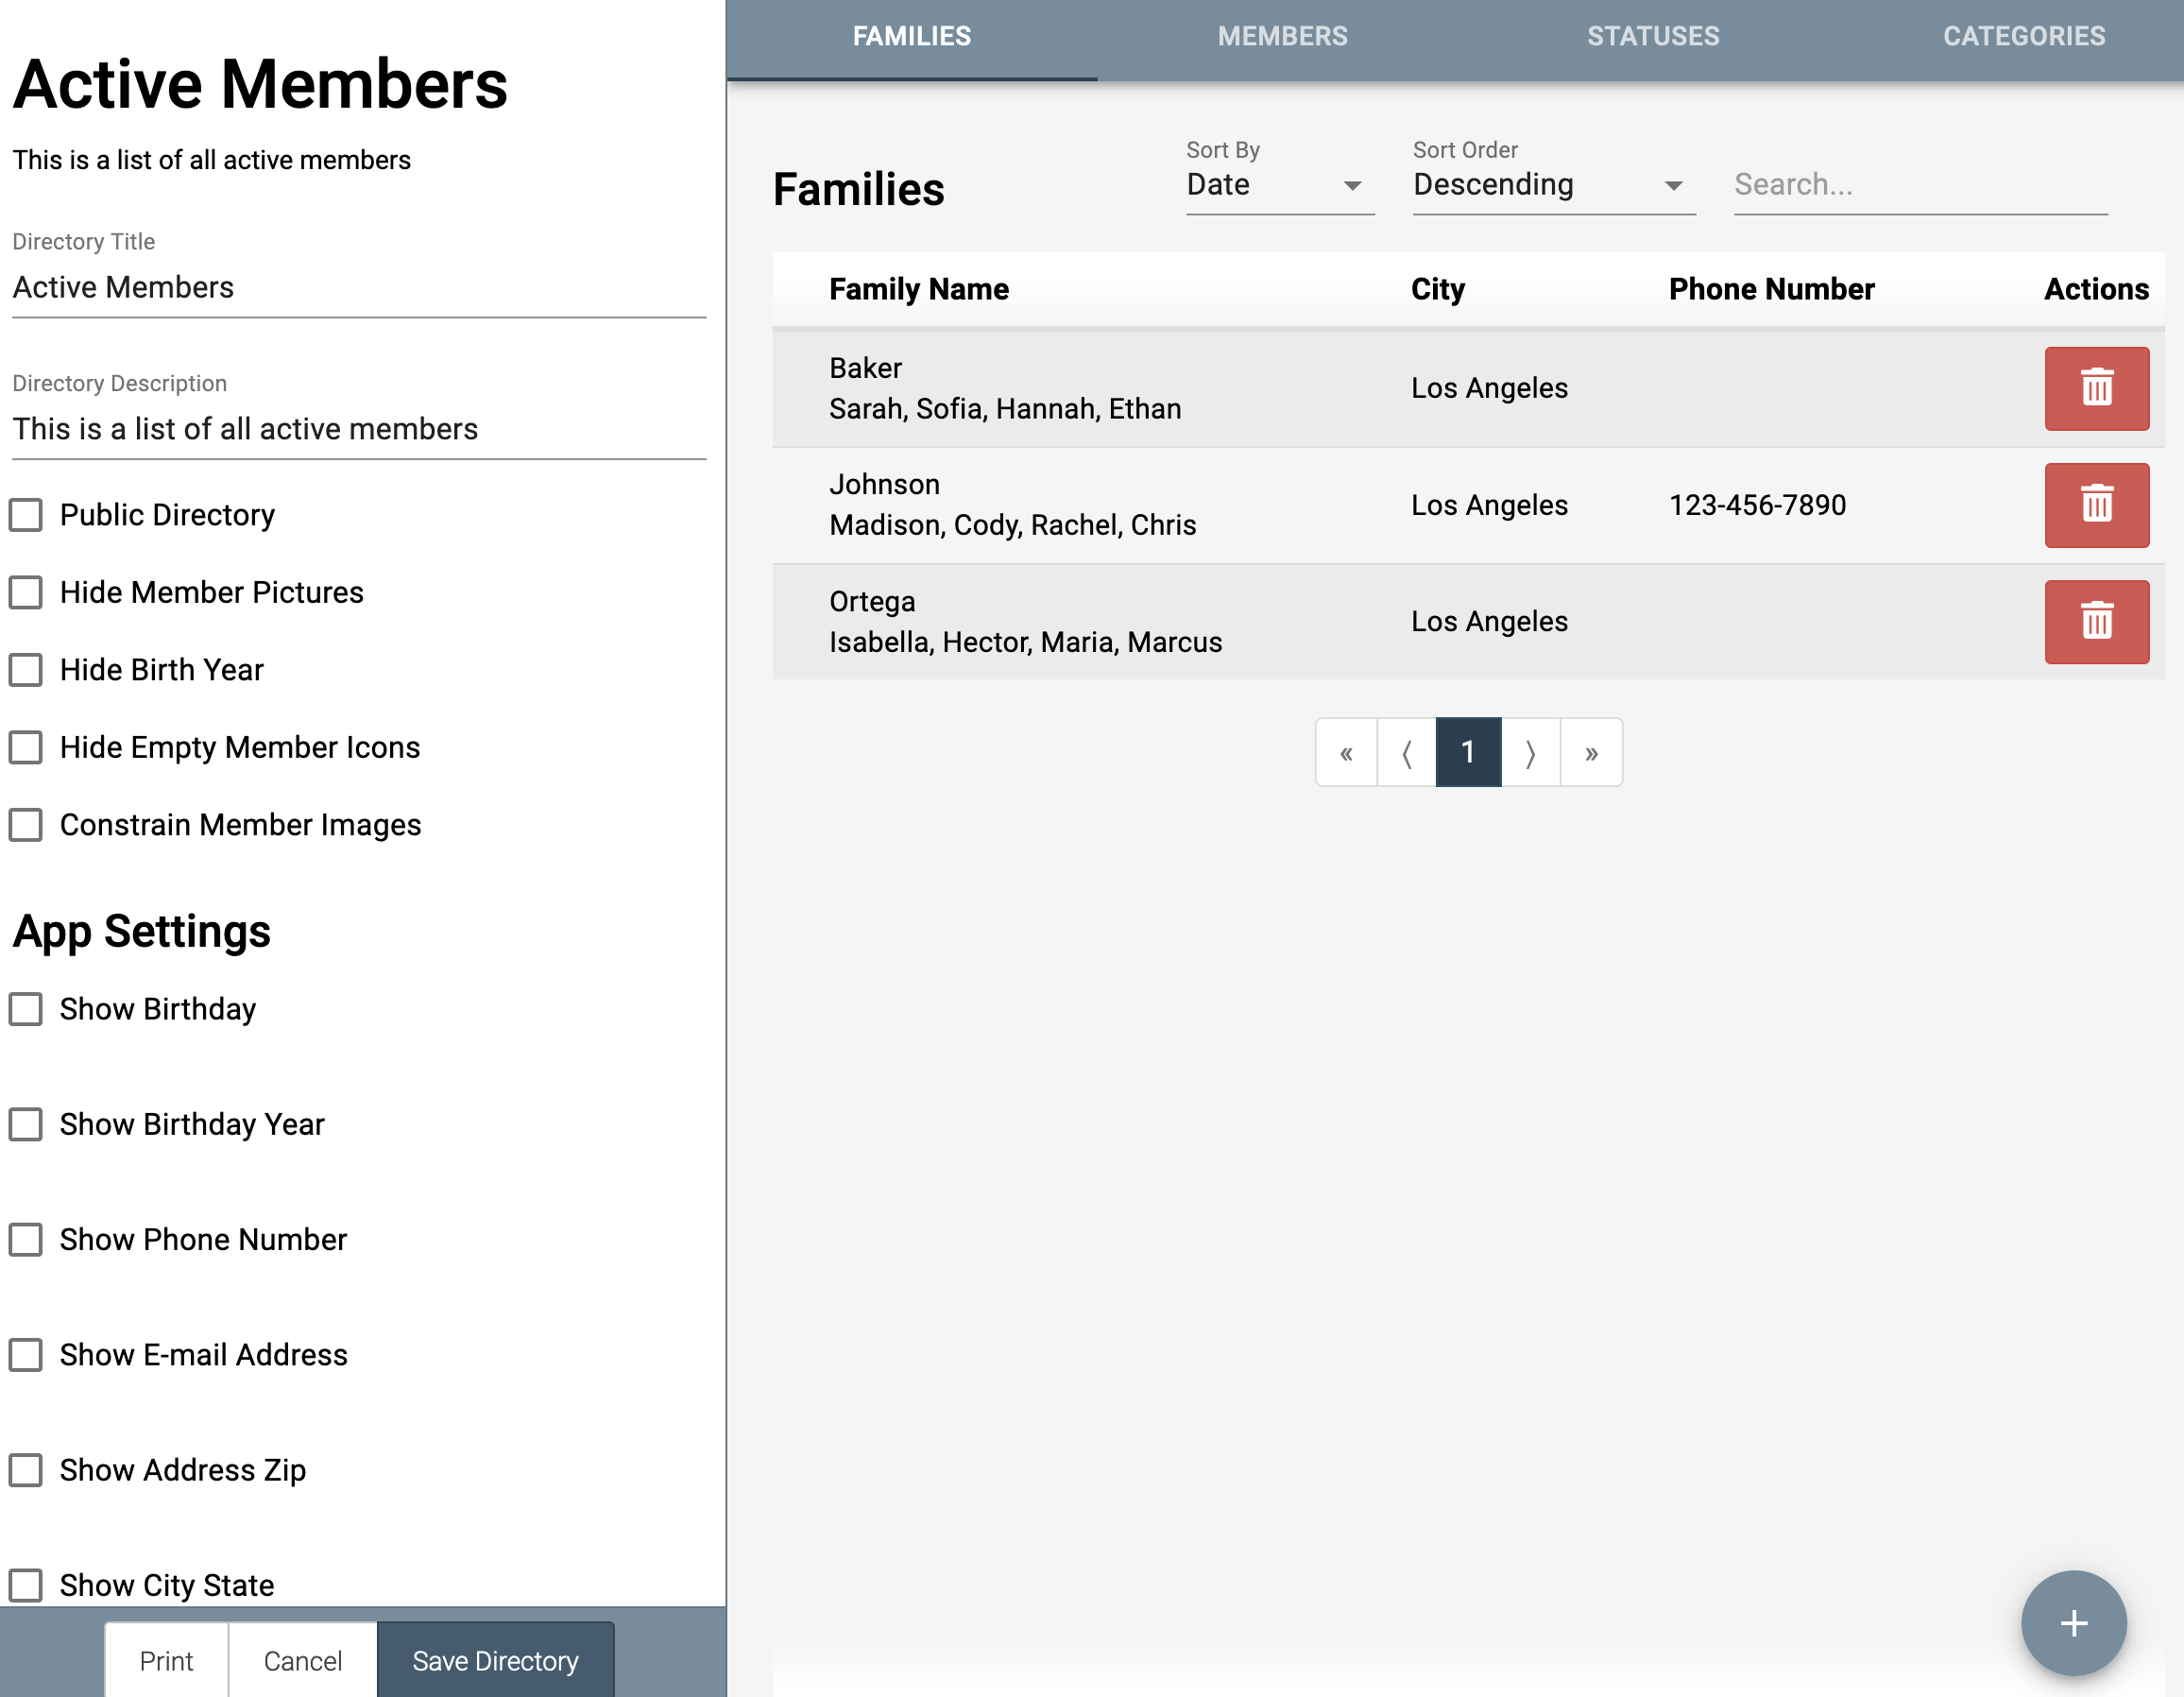
There are four tabs to manage members: Families, Members, Statuses, and Categories. In order to add individual members, you must first create a family.
Side Bar
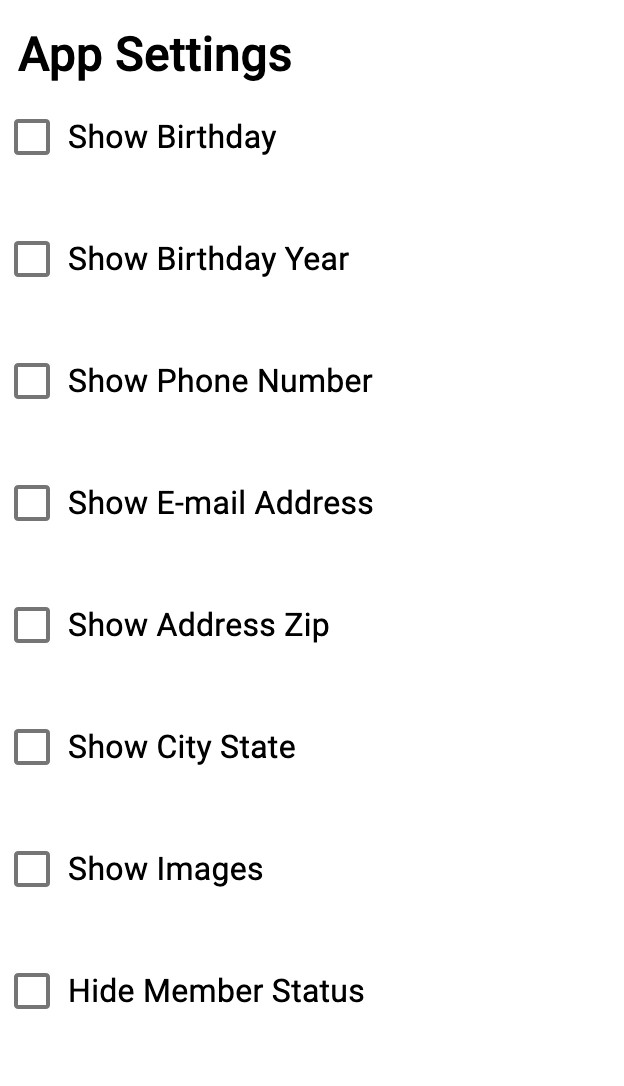
This side bar provides basic information about the directory and what information is displayed about members to users. If you are using the mobile app, you can toggle what information is displayed on the app directory.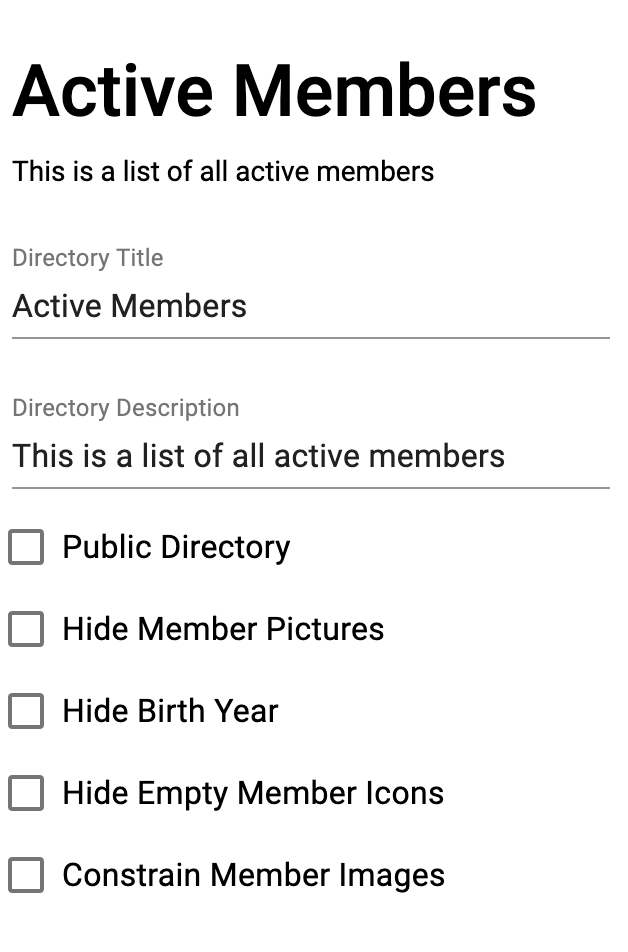
Family
- You must create a family, then members within families.
- Input a Last Name and basic contact information.
- At the bottom, you can add additional information about the family, mark if they opt out of directory communications, or whether the family is visible to other users in the directory
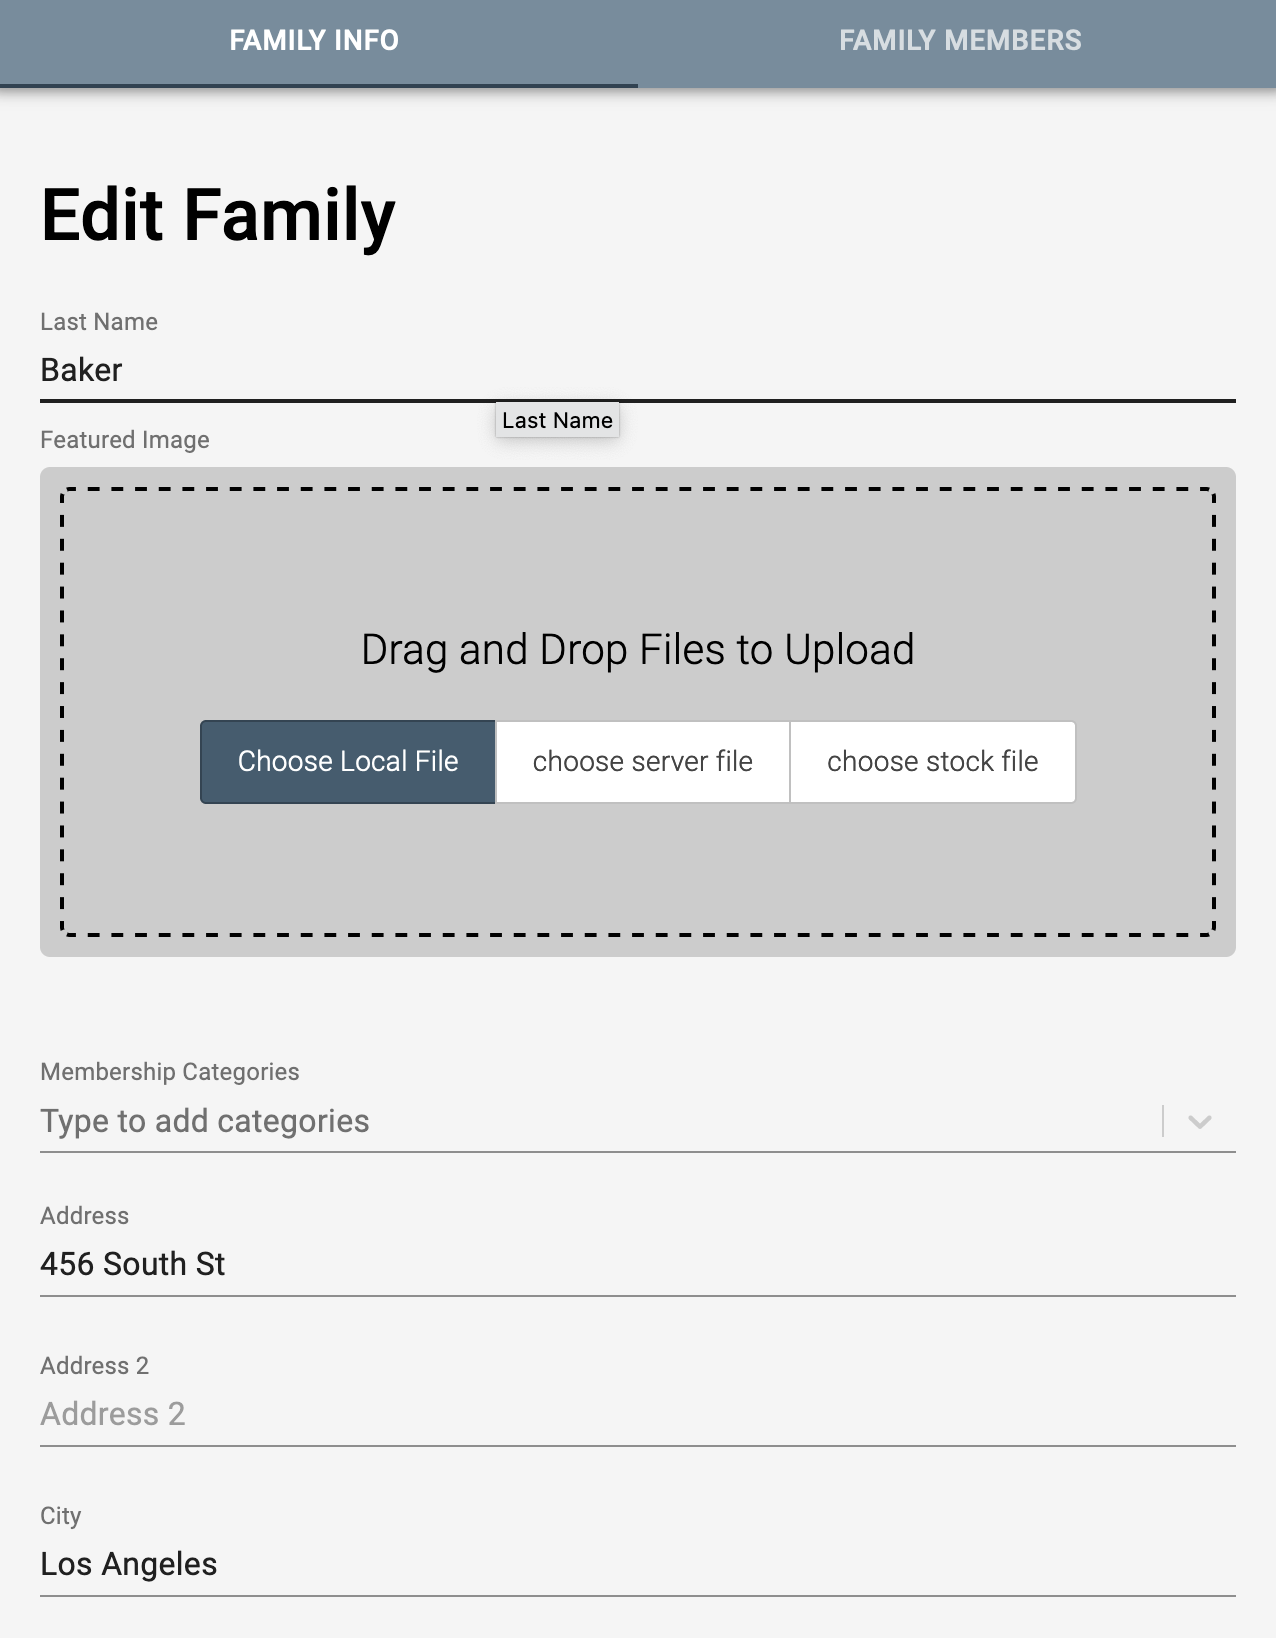
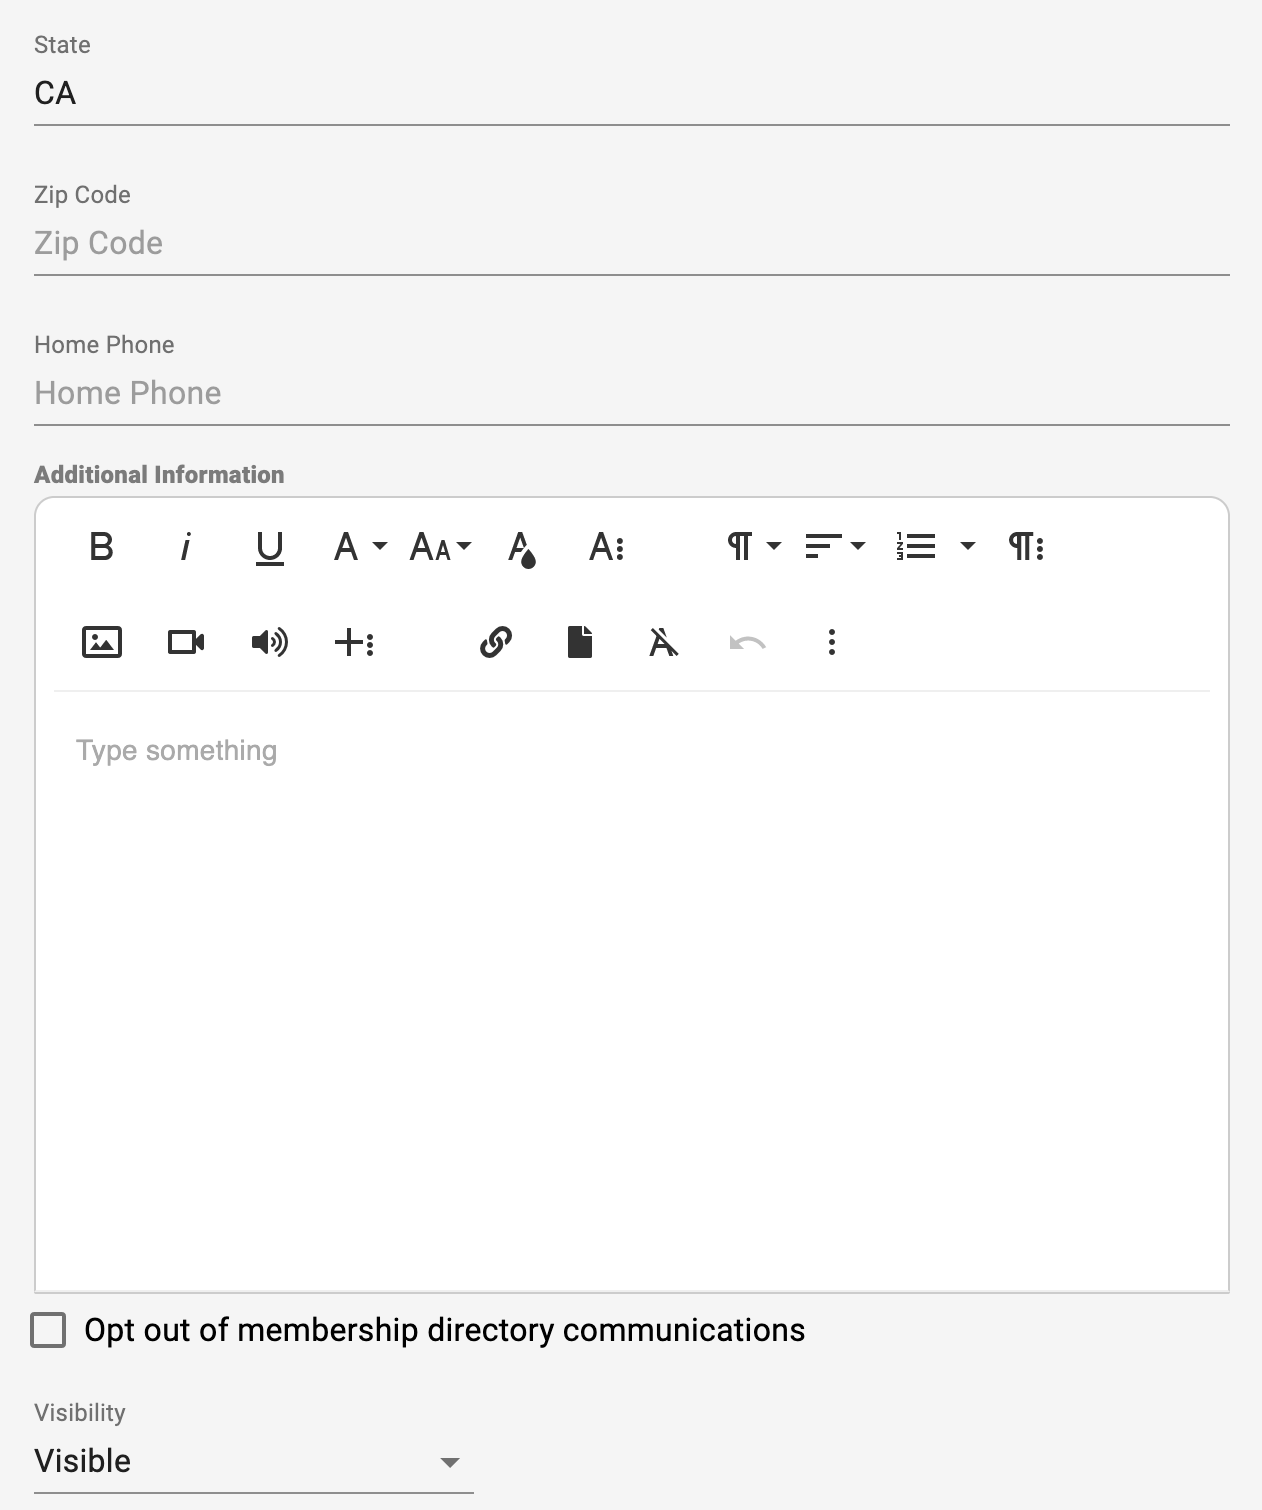
- After creating a family, you can add individual members into each family.
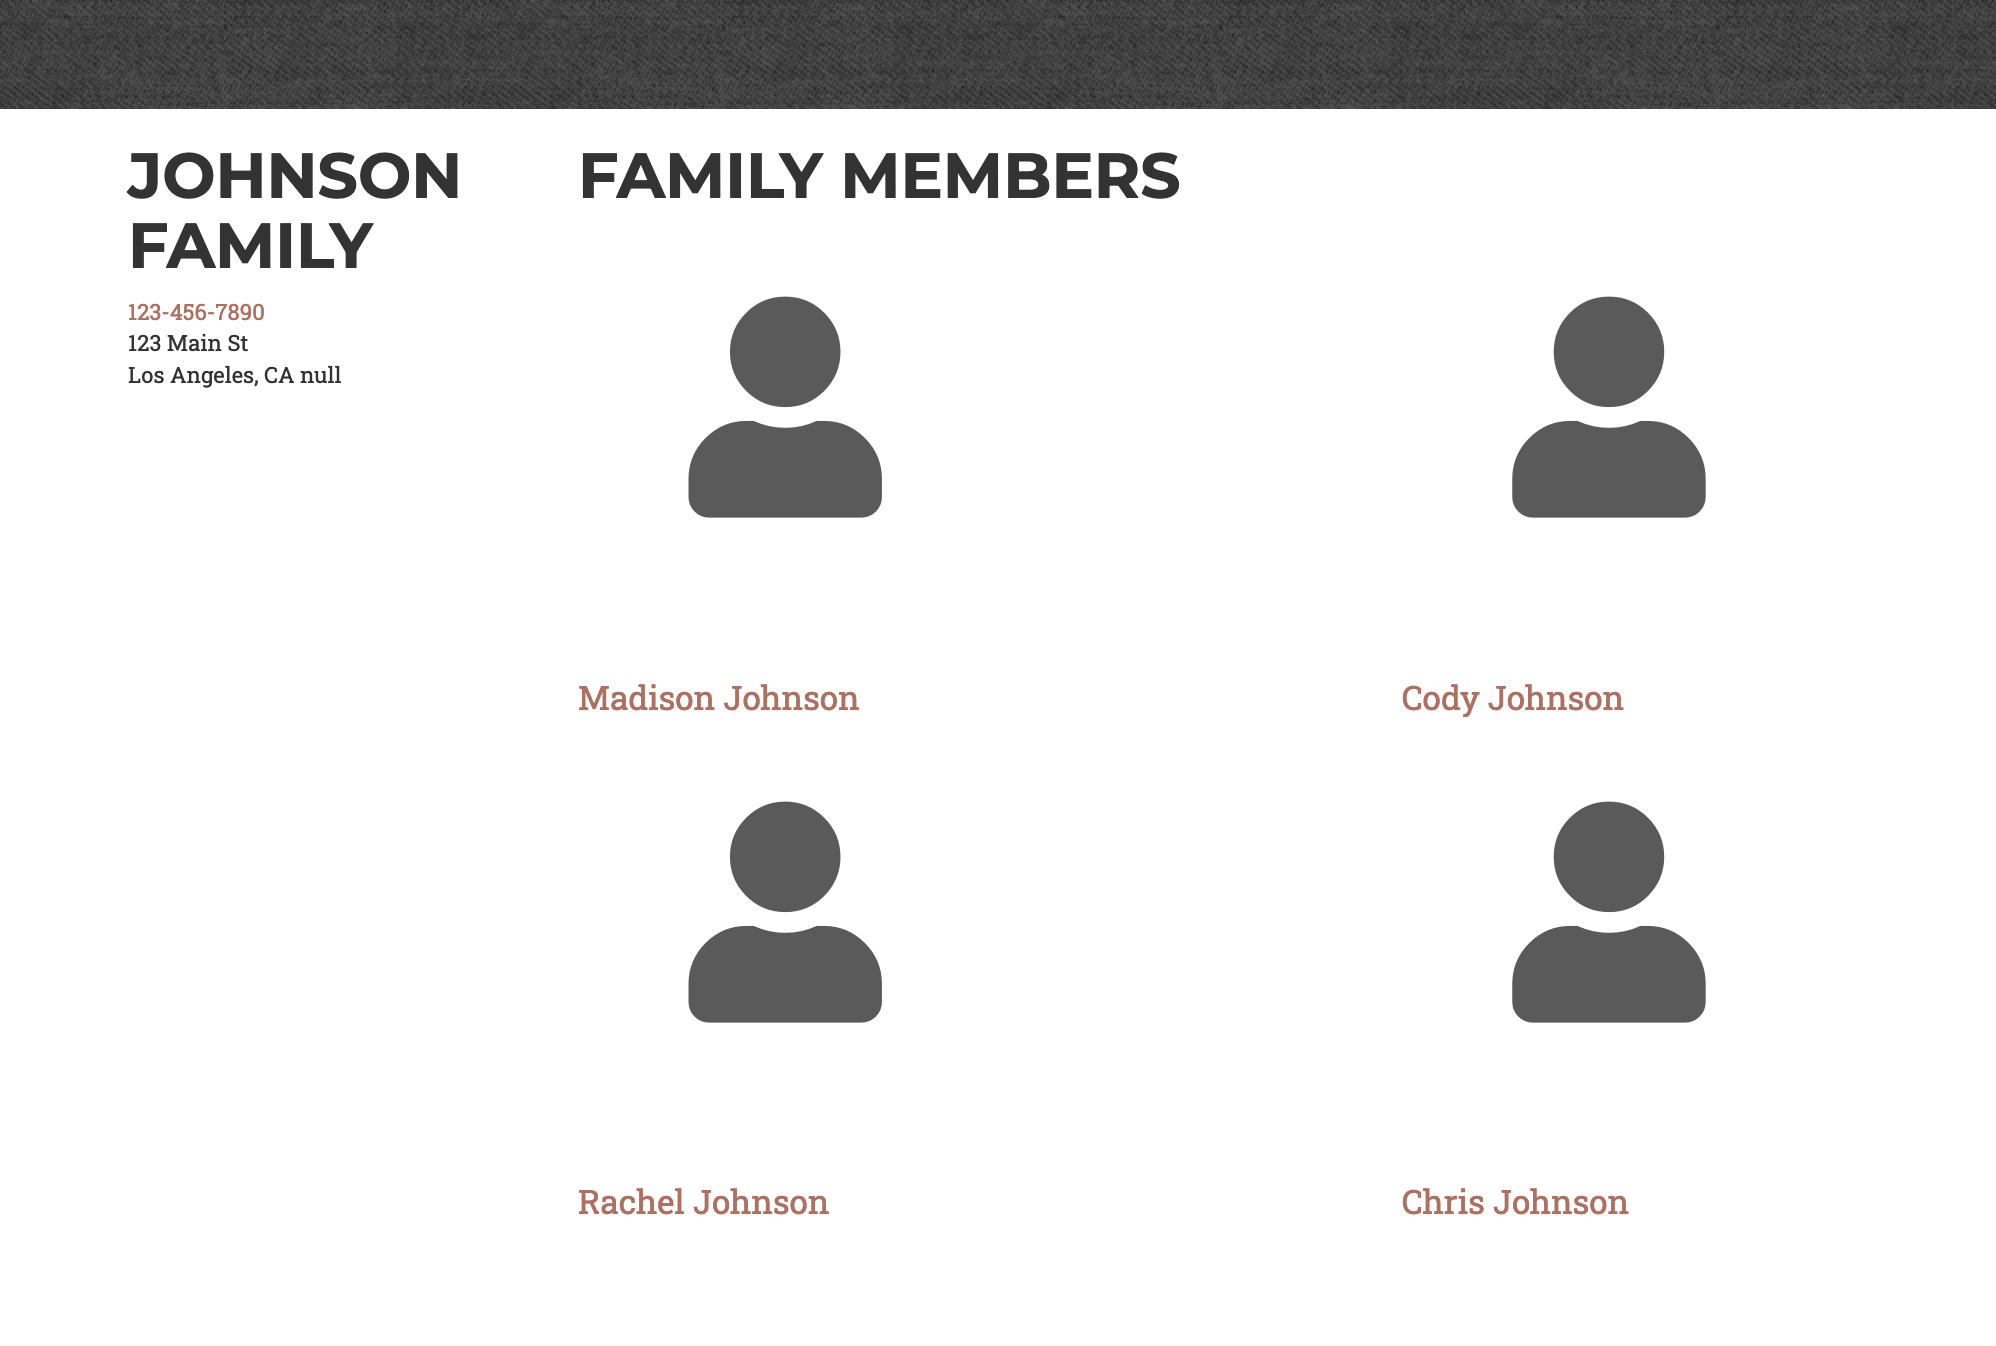
- Click on a family, and you will see a new “Family Members” tab at the top. Here you can add individuals within each family.
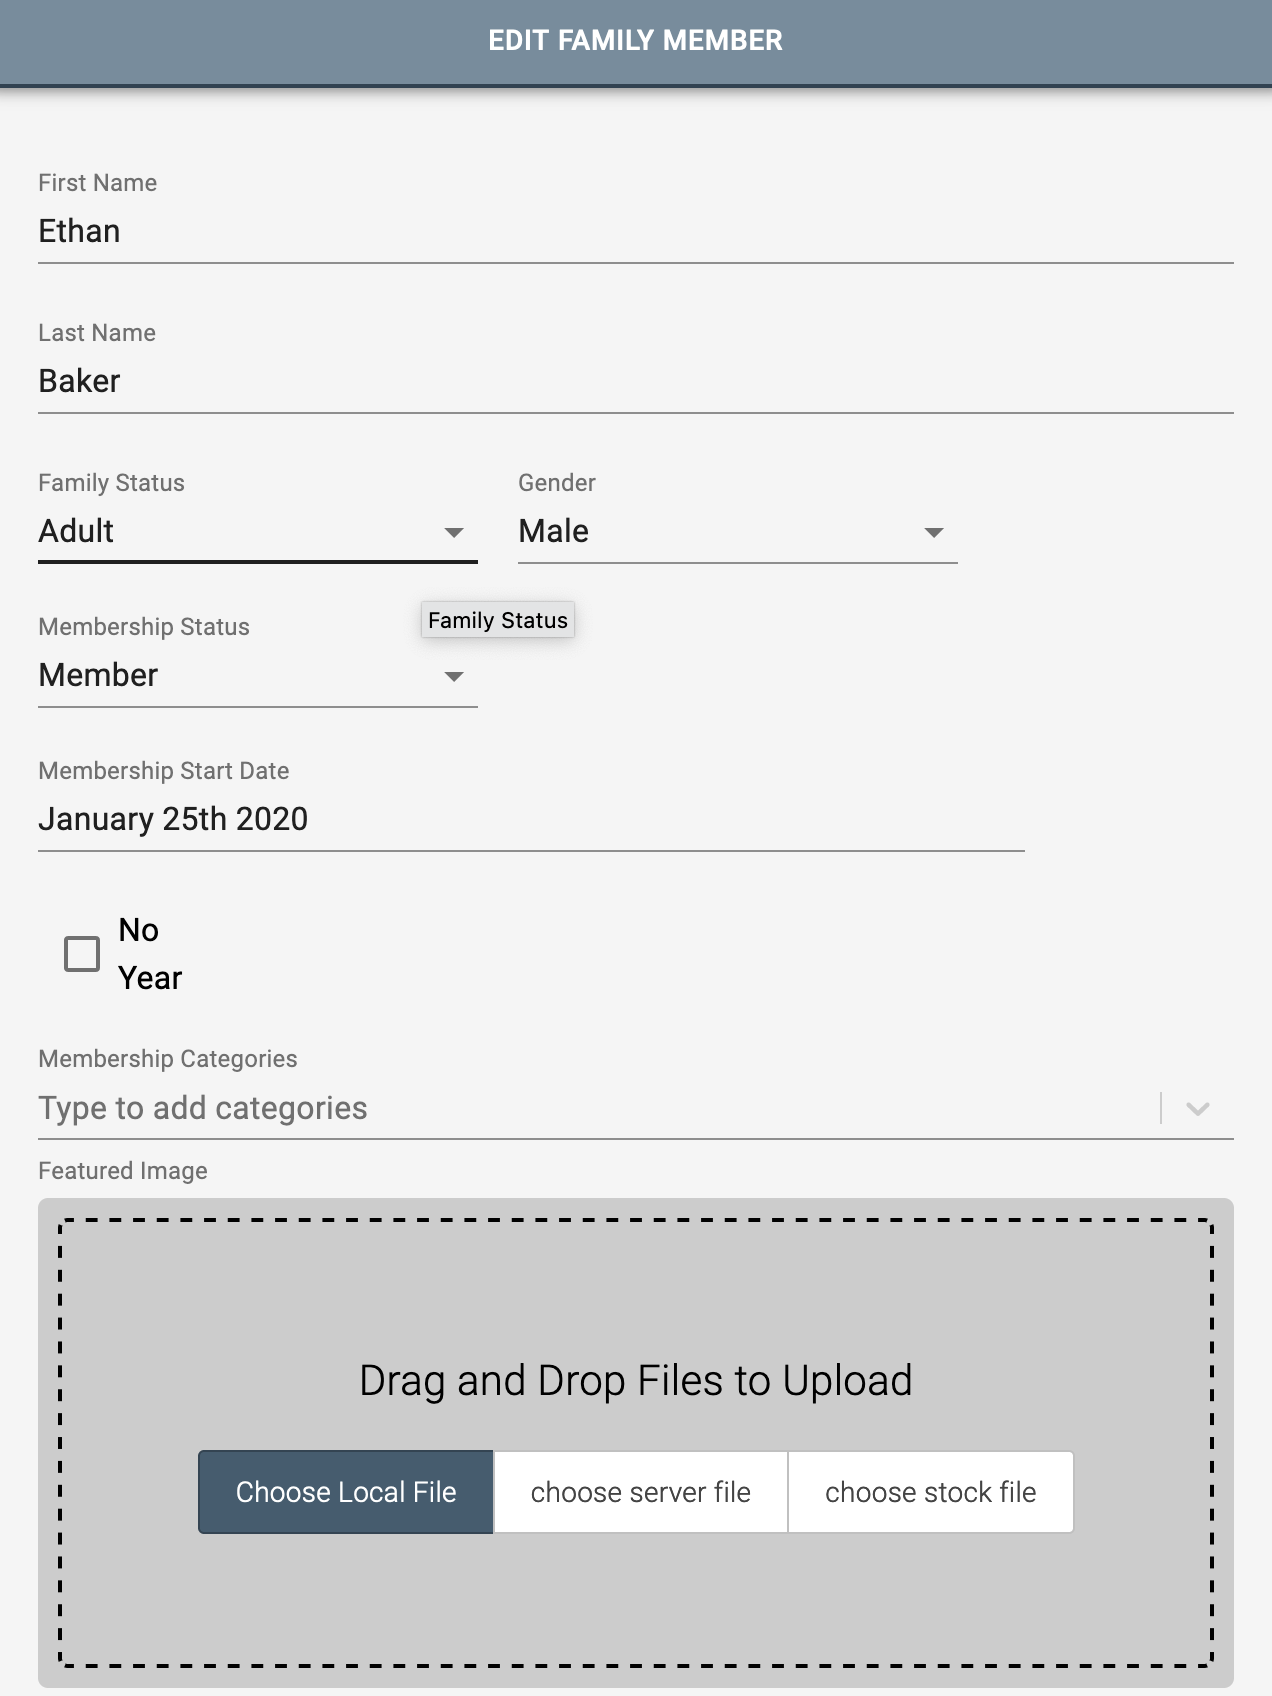
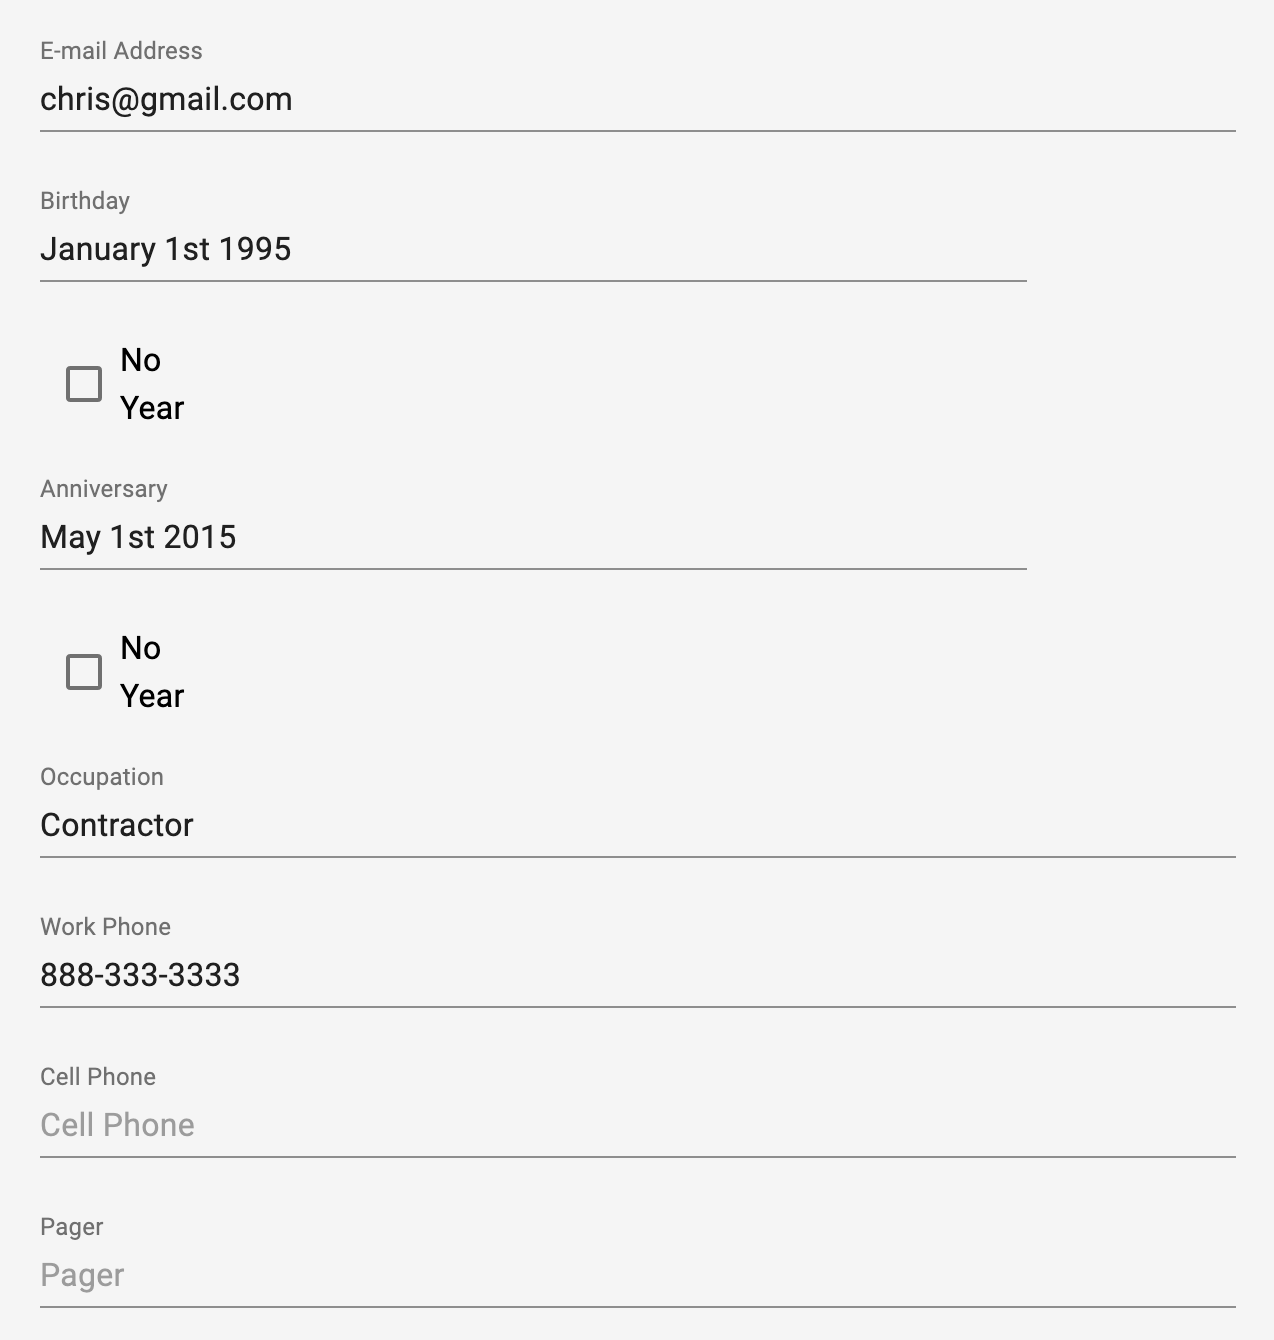
- For each member, there is a variety of fields regarding membership information, personal information and contact, and any notes for that member.
